how to fix screen door
You know those items that seem to always be on your home to-do list? Well today's post is all about finally crossing off one of those pesky tasks.
Ever since we moved into our condo, the sliding screen door (off of our master bedroom) has been broken. The screen was super loose and there was a hole right by the handle. The hole wasn't huge…so I doubt too many bugs were sneaking their way inside. But still…it didn't look pretty and it definitely wasn't doing its job properly.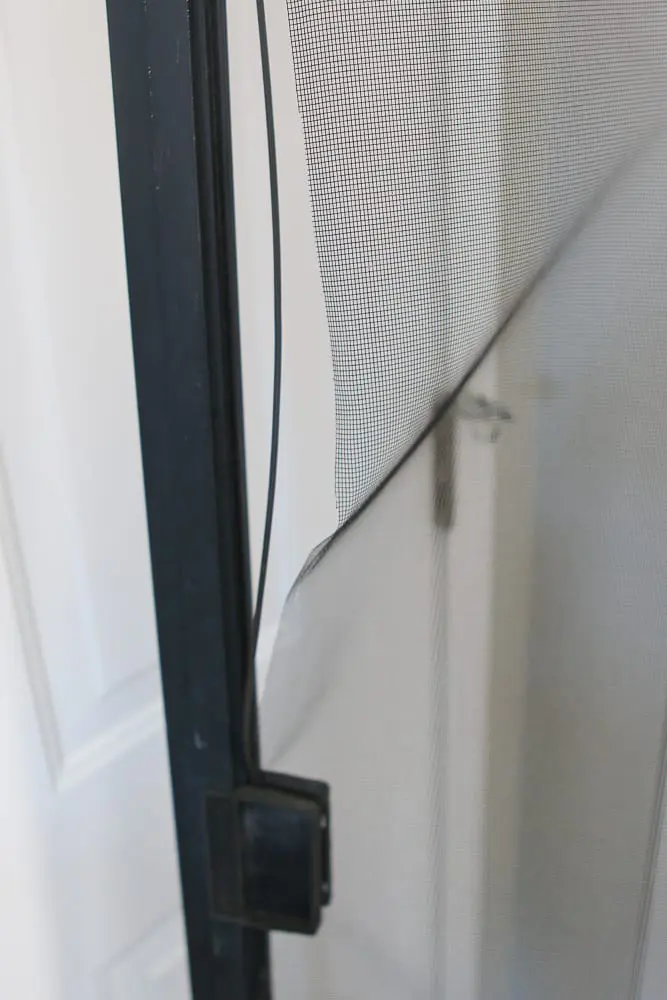
For the past 2 years, I've thought about fixing the screen door every time I use it. But for some reason, I never got around to it. After getting our patio prepped for the warmer months, I finally decided to get to it.
Luckily, it's incredibly easy to repair a broken screen. I've done it in the past (here's a suuuuuper old post), but I've since learned some tips and techniques that really help to keep the screen taut and smooth by the end of the project.
Screen Door – Supplies
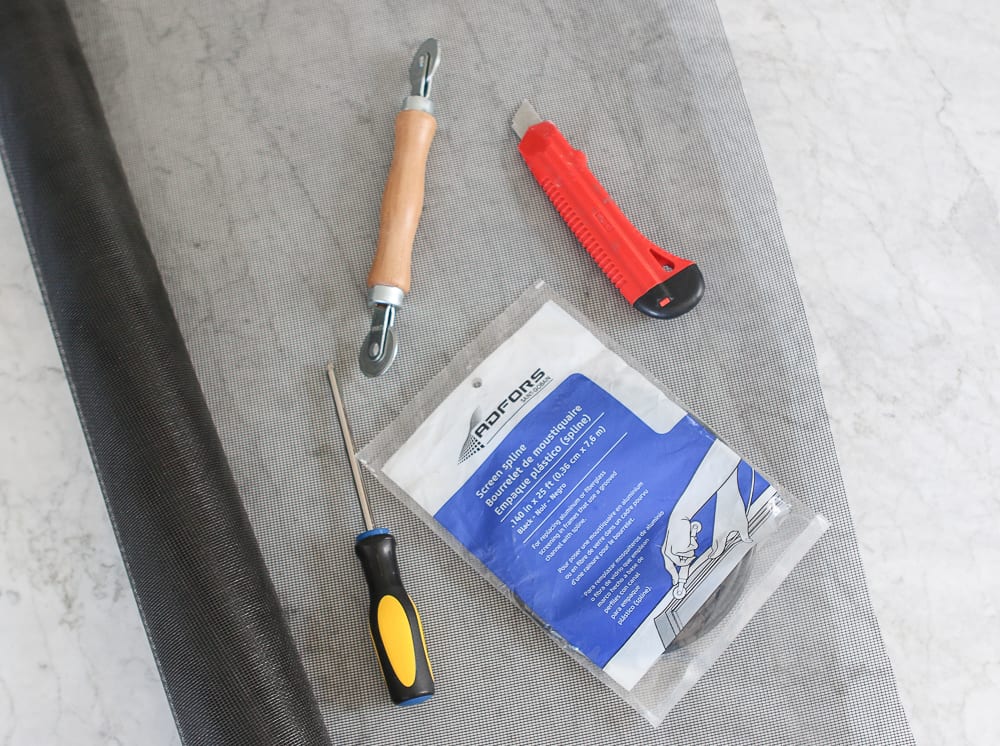
- Roller Tool
- Mesh Screening
- Spline (2 bags)
- Screwdriver
- Utility Knife
- Scissors
How to Fix a Screen Door
1. Remove the Door
You can't tackle this DIY project with the door hanging up in place, so I took the door off its track and brought it inside. Once the door was off, I used a screwdriver to take off the handle on the screen side of the door. This needs to be removed because it will interfere when laying out the new mesh screening. I stashed the handle and small screws in a baggie to keep them safe while working on this project.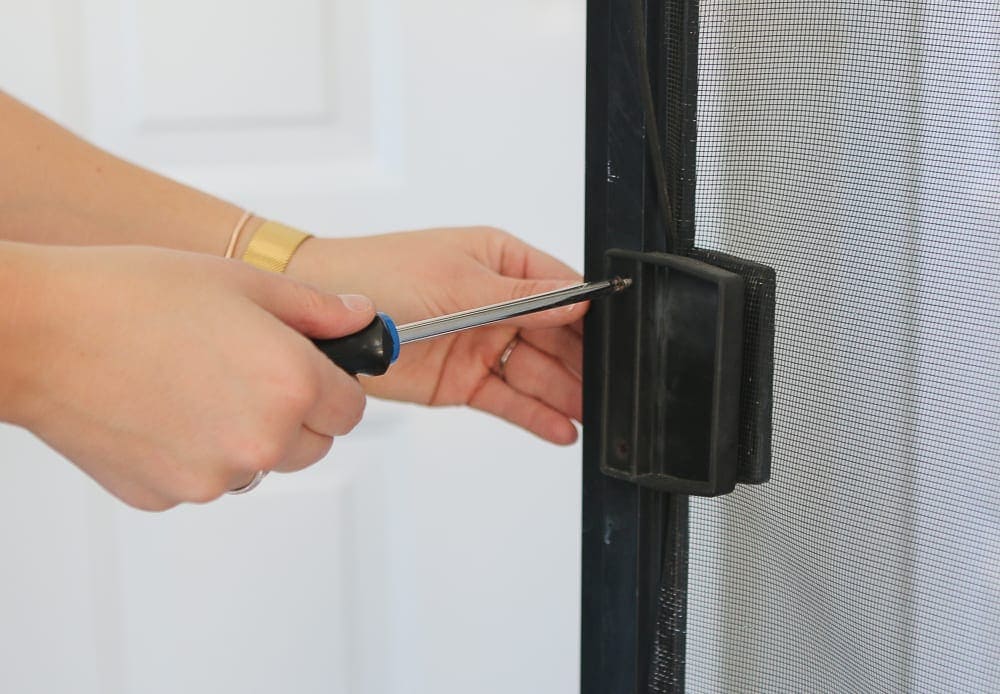
I brought our screen door inside and laid it out on our dining room table to tackle this project. You can do it outside on the ground if you want. Just make sure you have a large flat work surface.
2. Take Out the Old Spline
Spline is the rubbery cord that holds the screen in place. The reason our screen door was broken was because the spine was coming out and it was making the screening really loose. I removed the old spline using a screwdriver. I simply dug a screwdriver into the crevice of one of the corners and pulled it out from around the perimeter of the door. You can throw this spline away (it will probably be pretty gross) because you'll want to use fresh spline when getting the new screening in!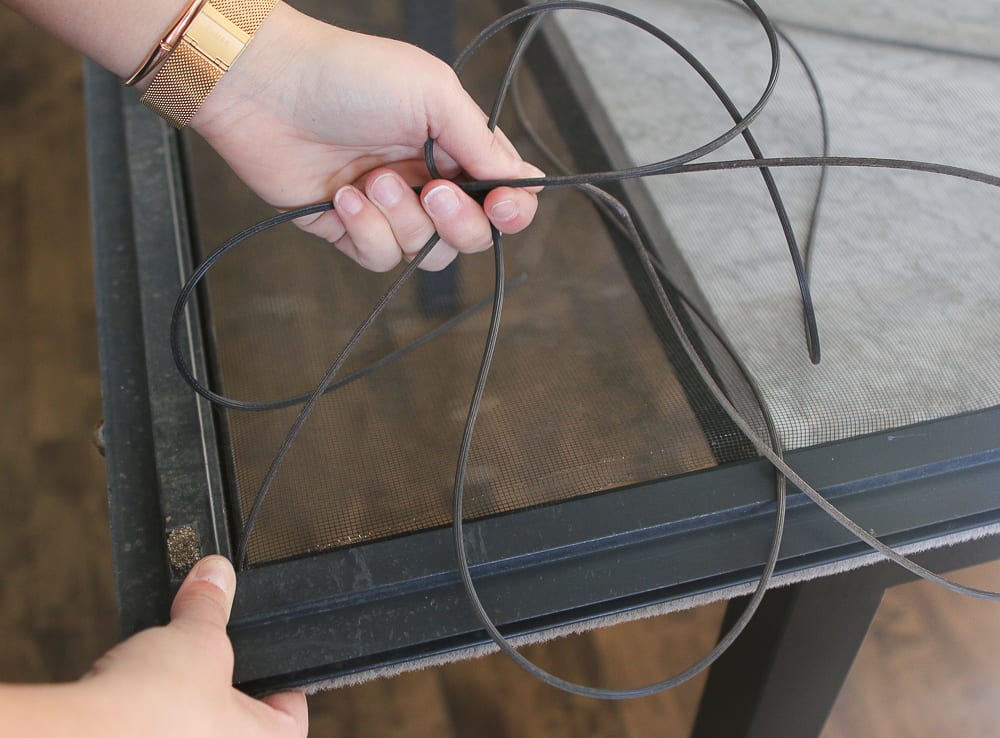
3. Remove Old Screening
With the spline gone, the screening was no longer secure. I unrolled it and discarded it. Our screen was sooooo dirty. I wasn't sad to toss it away.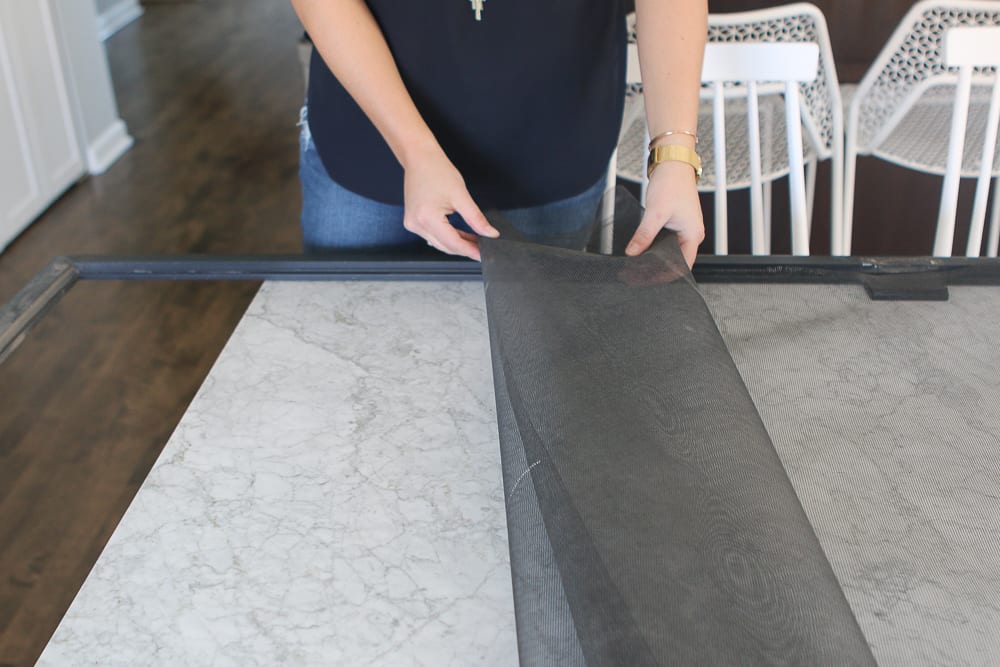
4. Roll Out New Screening
With the old stuff trashed, it was time to roll out some new screening. I rolled out the new screening along the entire length of the door, leaving a few extra inches on each side. Once it was rolled all the way across, I used a utility knife to cut it off the roll.
DIY Tip: You can choose from a wide variety of screenings at the hardware store. If you have pets, there are some pricier options that are thicker and more durable. We went with a basic one because we don't have pets or kids.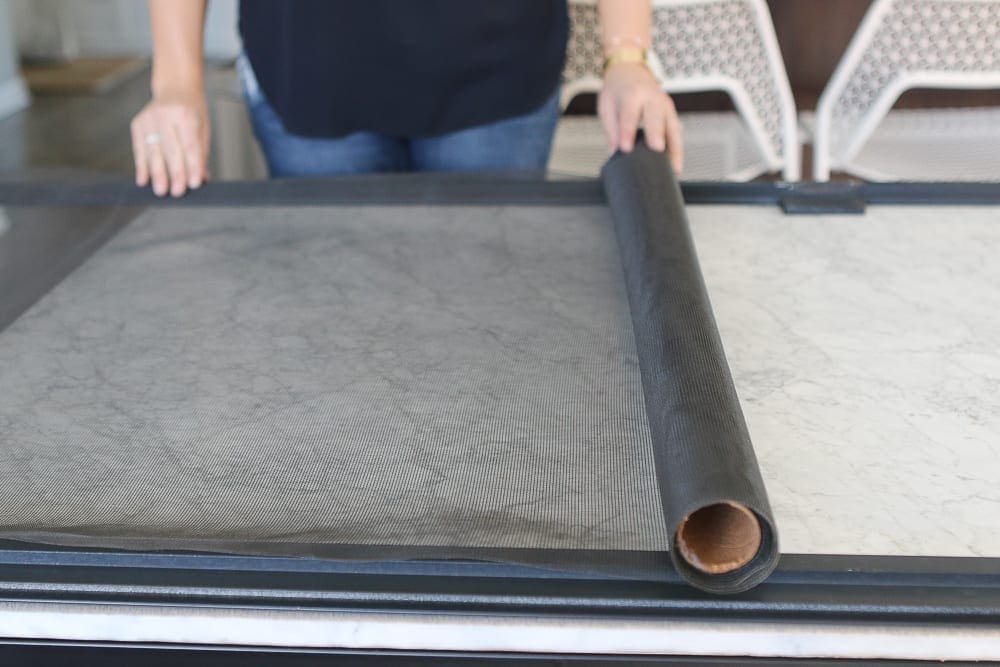
5. Use the Roller Tool
With the new screening in place, I grabbed my roller tool. This tool is essential for this project so don't skimp on buying this at the store (or on Amazon. Prime is my life!). I then pre-rolled the right and left side of the door, making sure to push the screening down into the edge of the crevice as I went. Once the right and left side were good to go, I pre-rolled the top and bottom.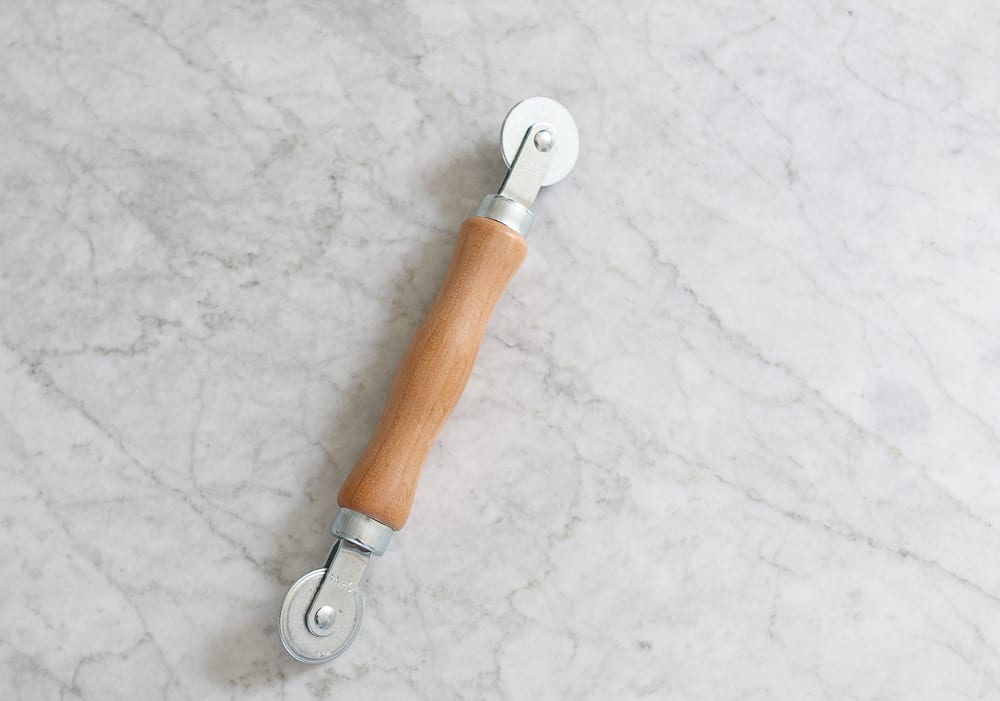
DIY Tip: Instead of working your way around the edge of the door in a clockwise or counter-clockwise pattern, do the right side, left side, top, and then bottom of the screen. This will prevent ripples and bubbling. Instead, you'll have a nice tight screening with no waves in it! This was the first time I used this technique and it made the entire project that much easier.
6. Roll In New Spline
At this point, the screening was inserted into the lip of the door, so it was time for the new spline. I started at the bottom right side of the door, shoving the end of the spline into the corner. You may have to be a bit forceful to get it wedged into the corner. Once it's in, then you can carefully start rolling the spline into the lip.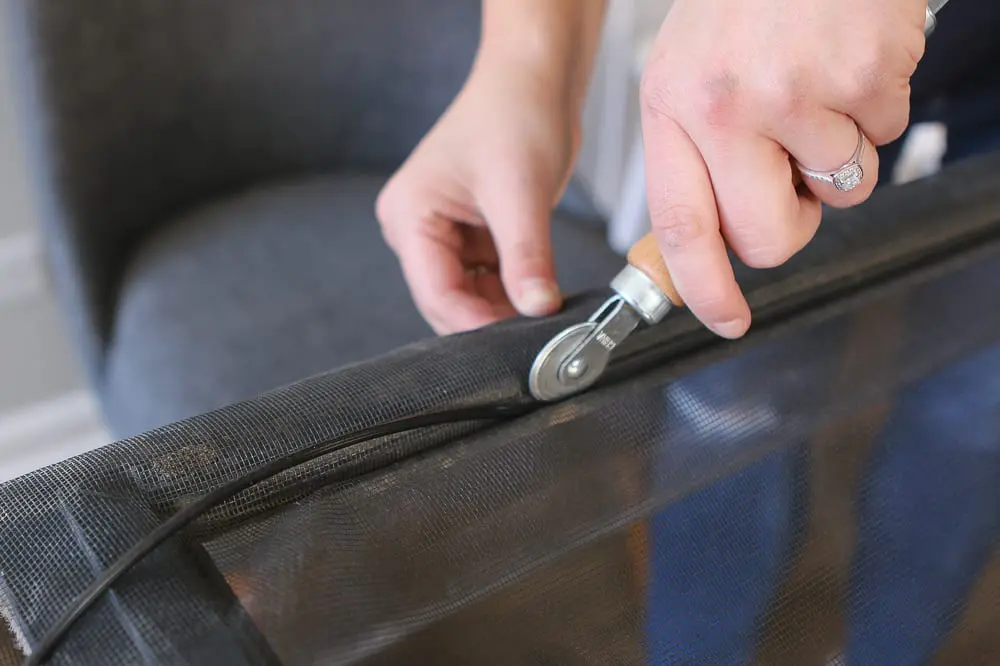
I then worked my way up from the bottom right up to the top of the right side and I stopped there. Then I took a new bag of spline and started at the top left of the screen door, working my way to the bottom left. It's essential to keep the screening taut and secure as you work your way down.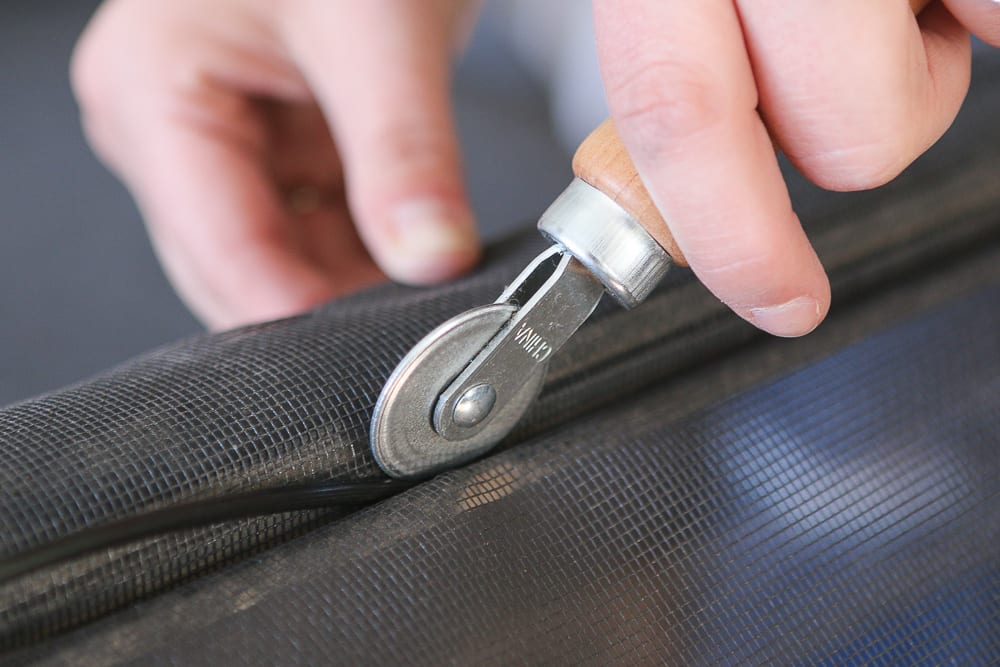 With the right and the left in place, I kept the spline going along the top and bottom. So essentially by the end you have 2 long pieces of spline making 2 "L" shapes around the perimeter of the door.
7. Cut the Excess Spline & Screen
Before cutting the spline off the roll, I really shoved the spline down into the 4 corners. This is essential to make sure it stays in place for years to come. I then grabbed some scissors and cut off the excess spline.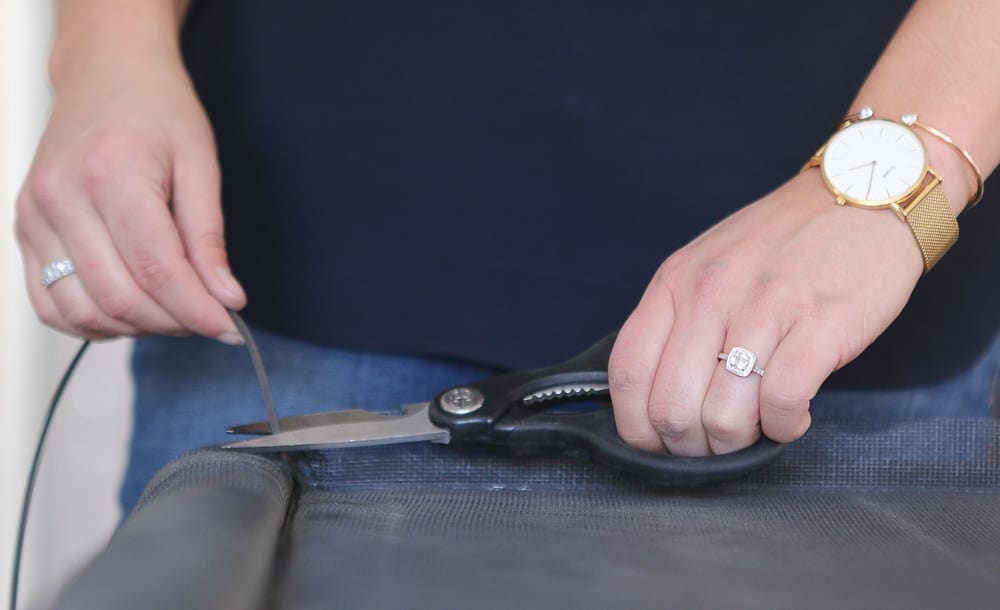
So the spine was in place, but I was left with some extra screening on all 4 sides. I took my utility knife and carefully cut the screening off. The easiest way to do this is to pull the excess screening away from the door as you slowly move the knife around the edges.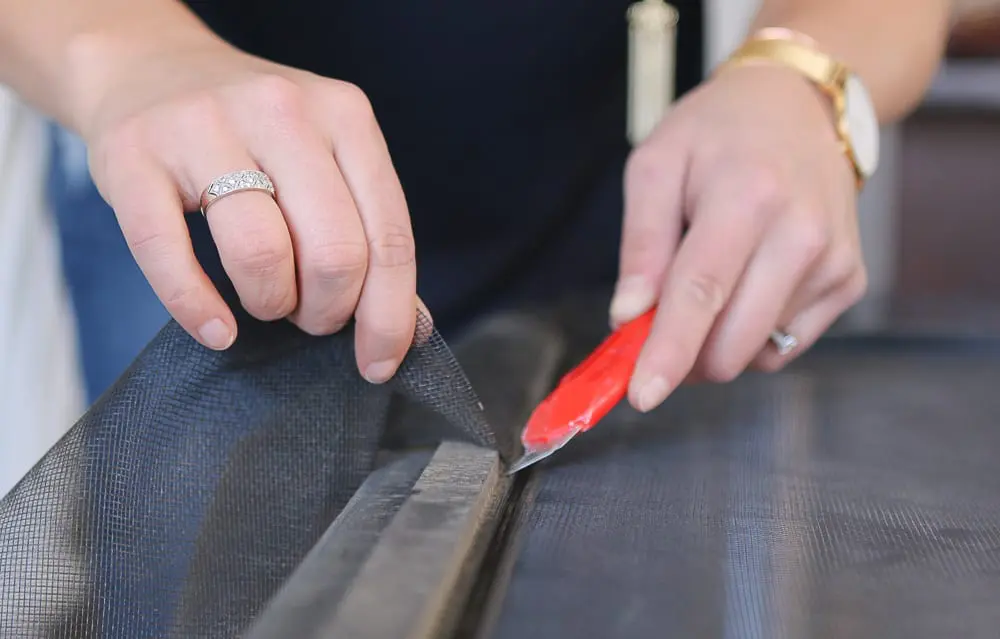
8. Add the Door Handle & Hang the Door
Finally, I added the door handle back on using a screwdriver.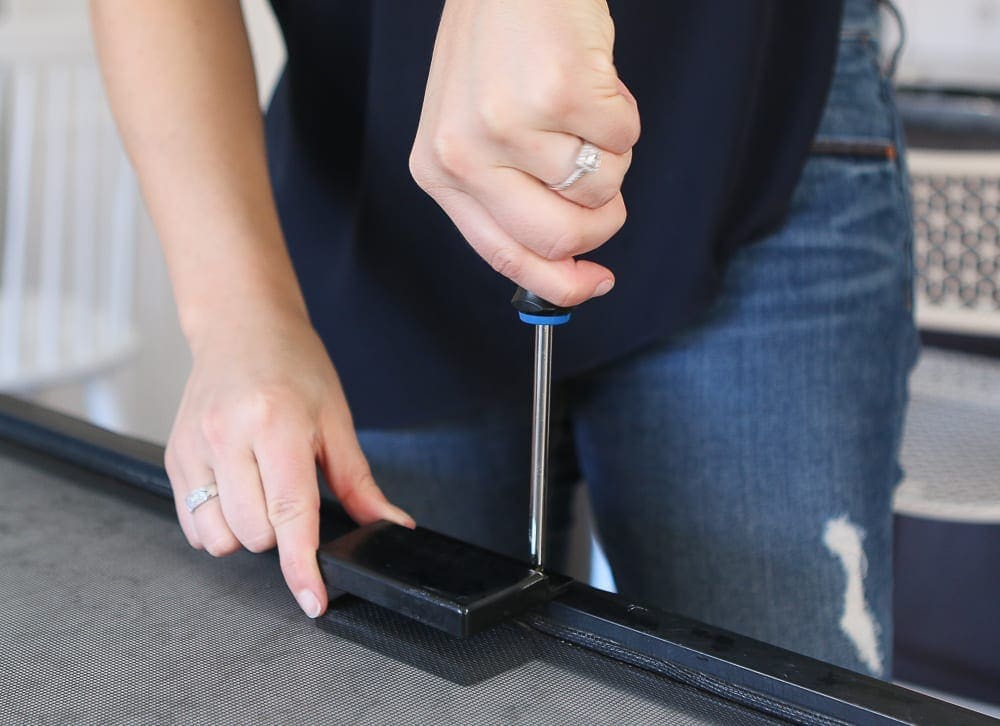
And then I hung the door on the track! It took me about 15 minutes to get this project done and I kicked myself for waiting so long to get this off our home's to-do list. As long as you have all of the supplies available, I promise you can get this done quickly.

Now I'm so excited to leave our back screen door open on nice summer days! There's just nothing like a breeze coming into the bedroom when relaxing at home. Bring on the fresh air.
Casey
how to fix screen door
Source: https://thediyplaybook.com/fix-screen-door/
Posted by: grantforgent.blogspot.com

0 Response to "how to fix screen door"
Post a Comment